3D Printing

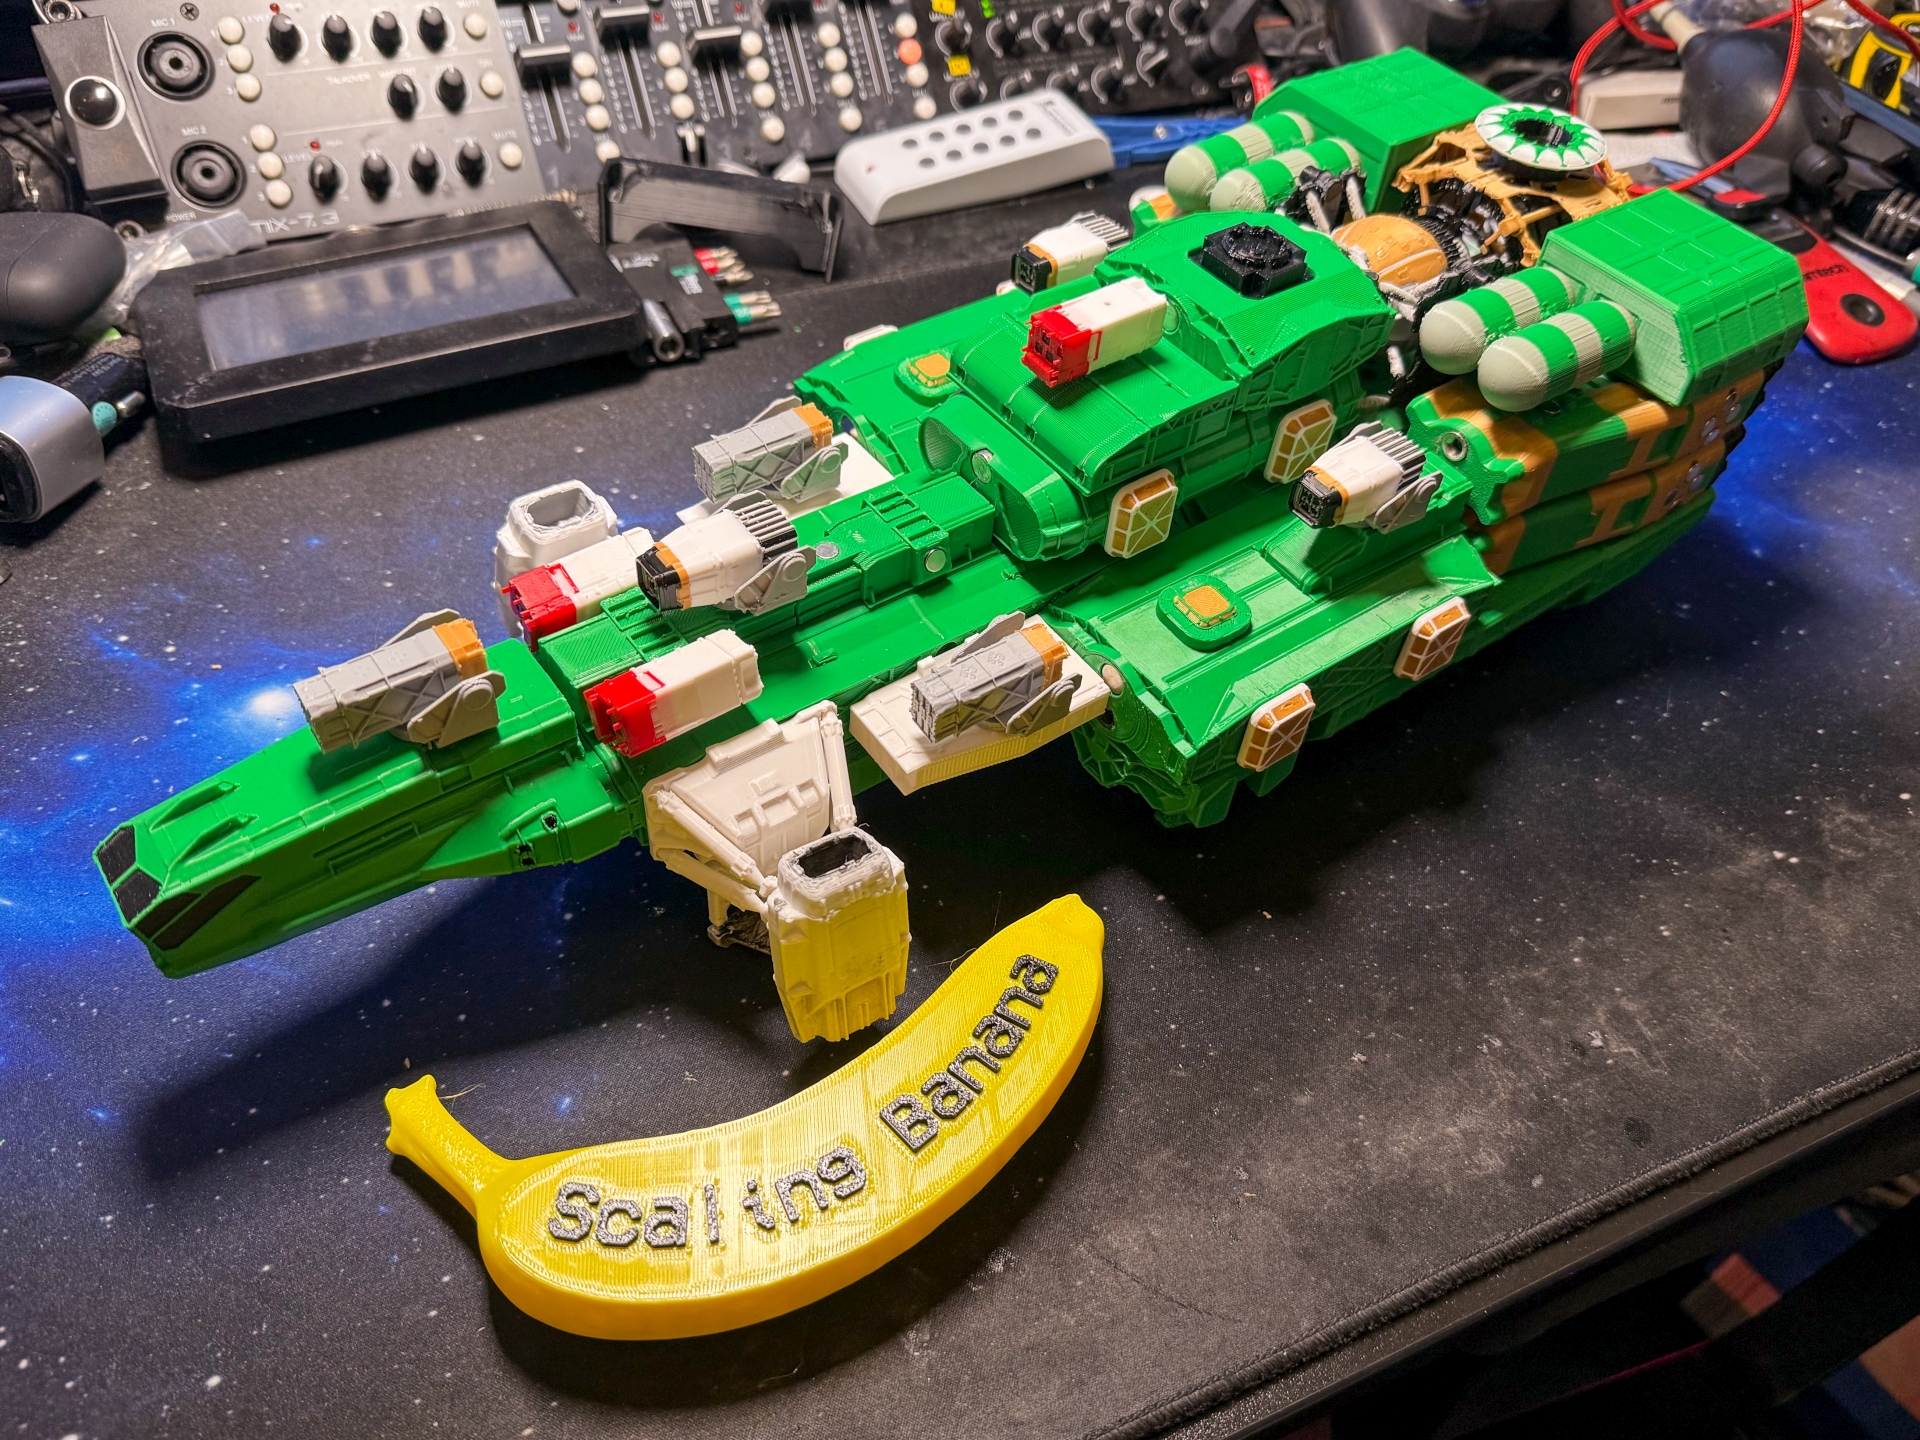
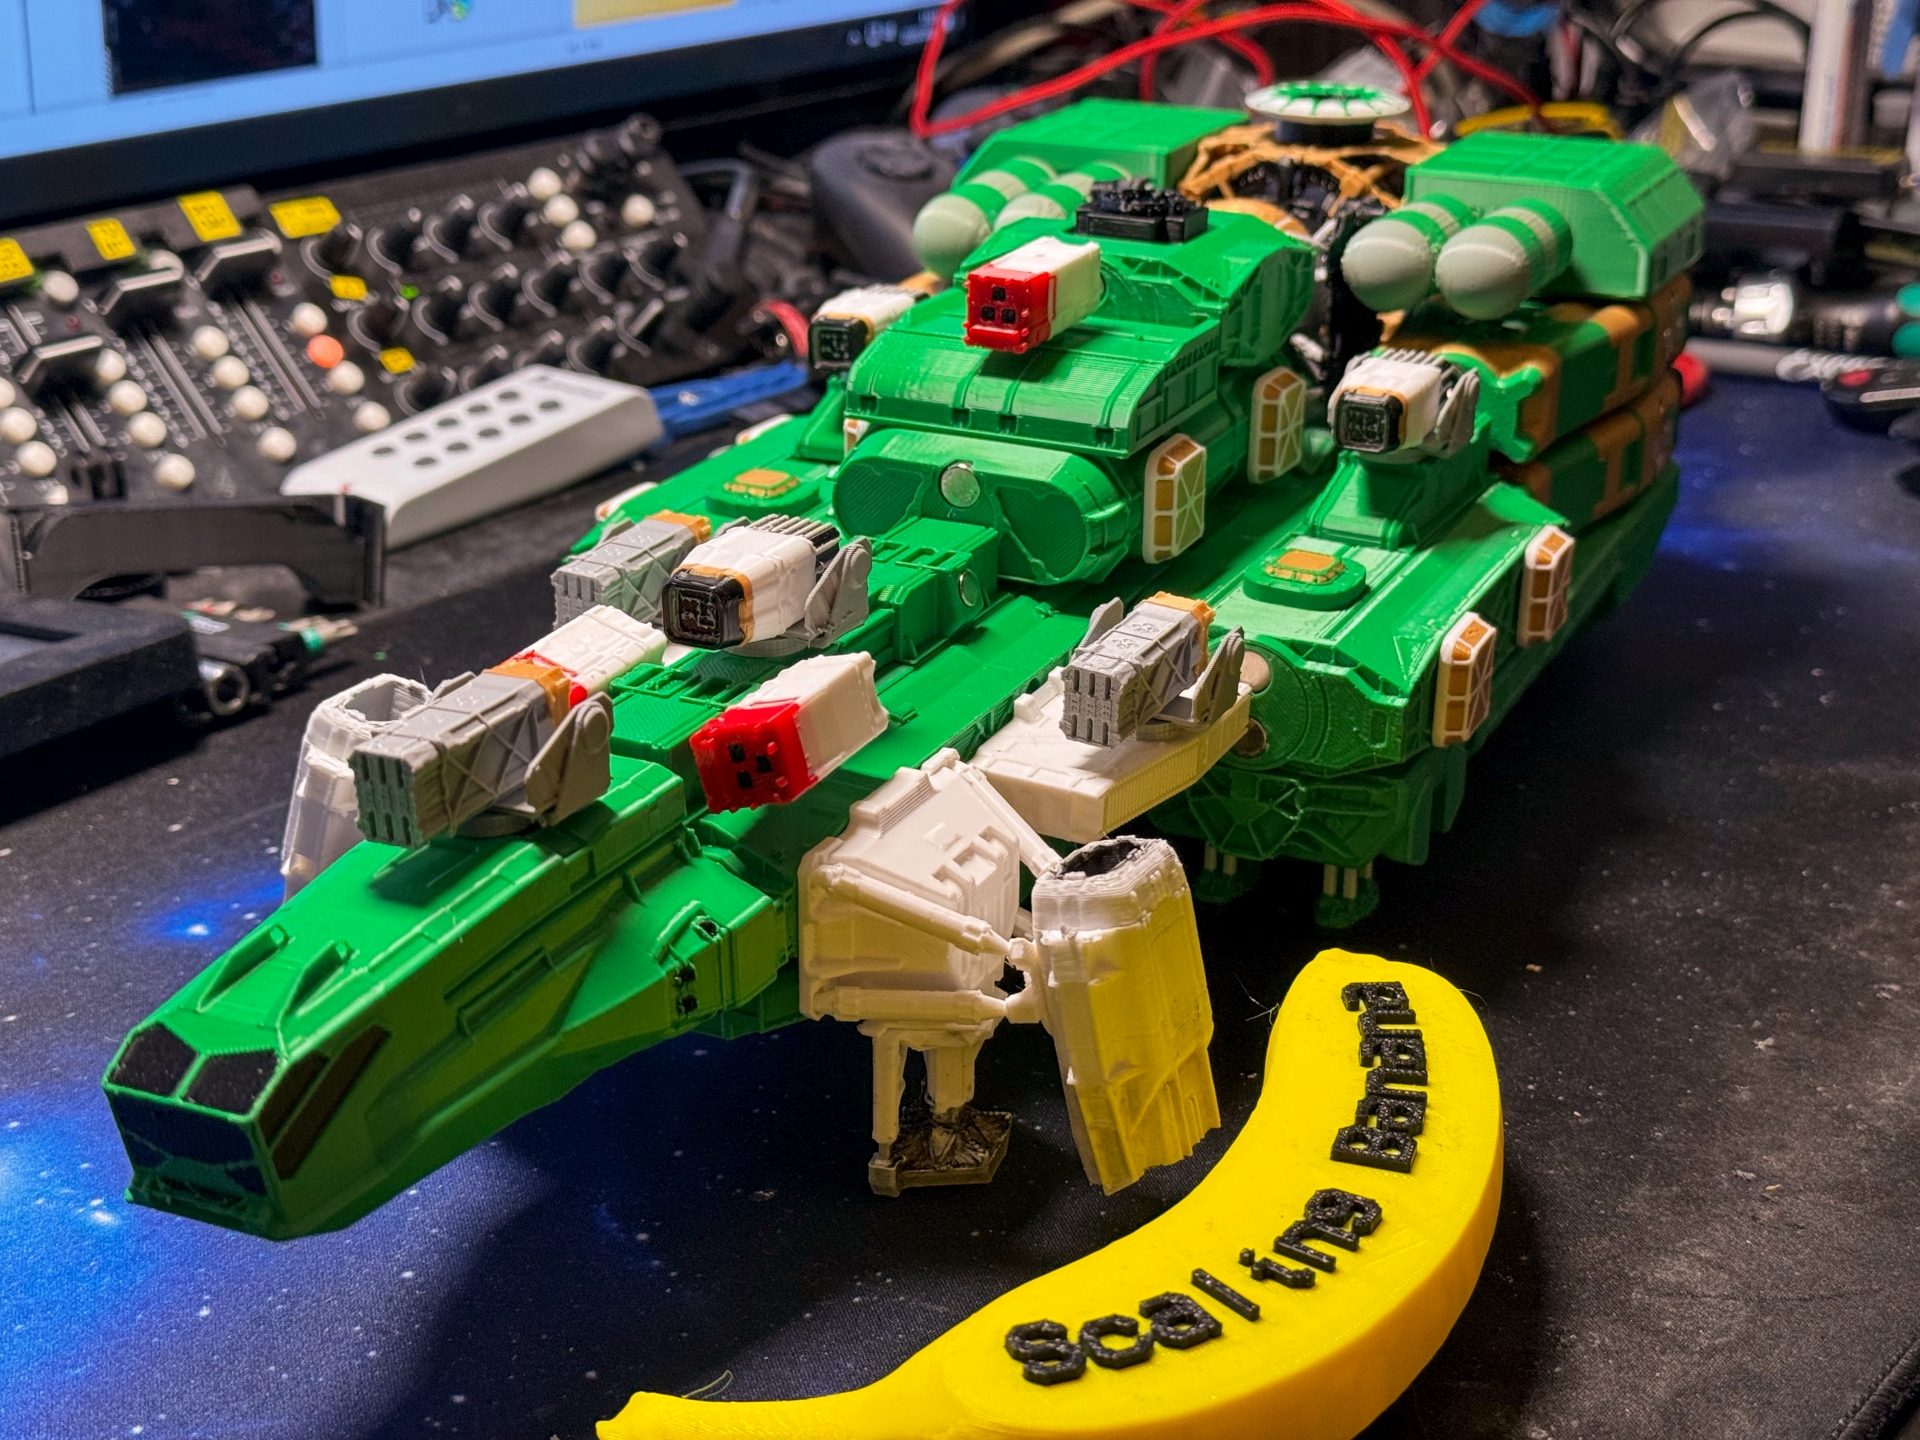
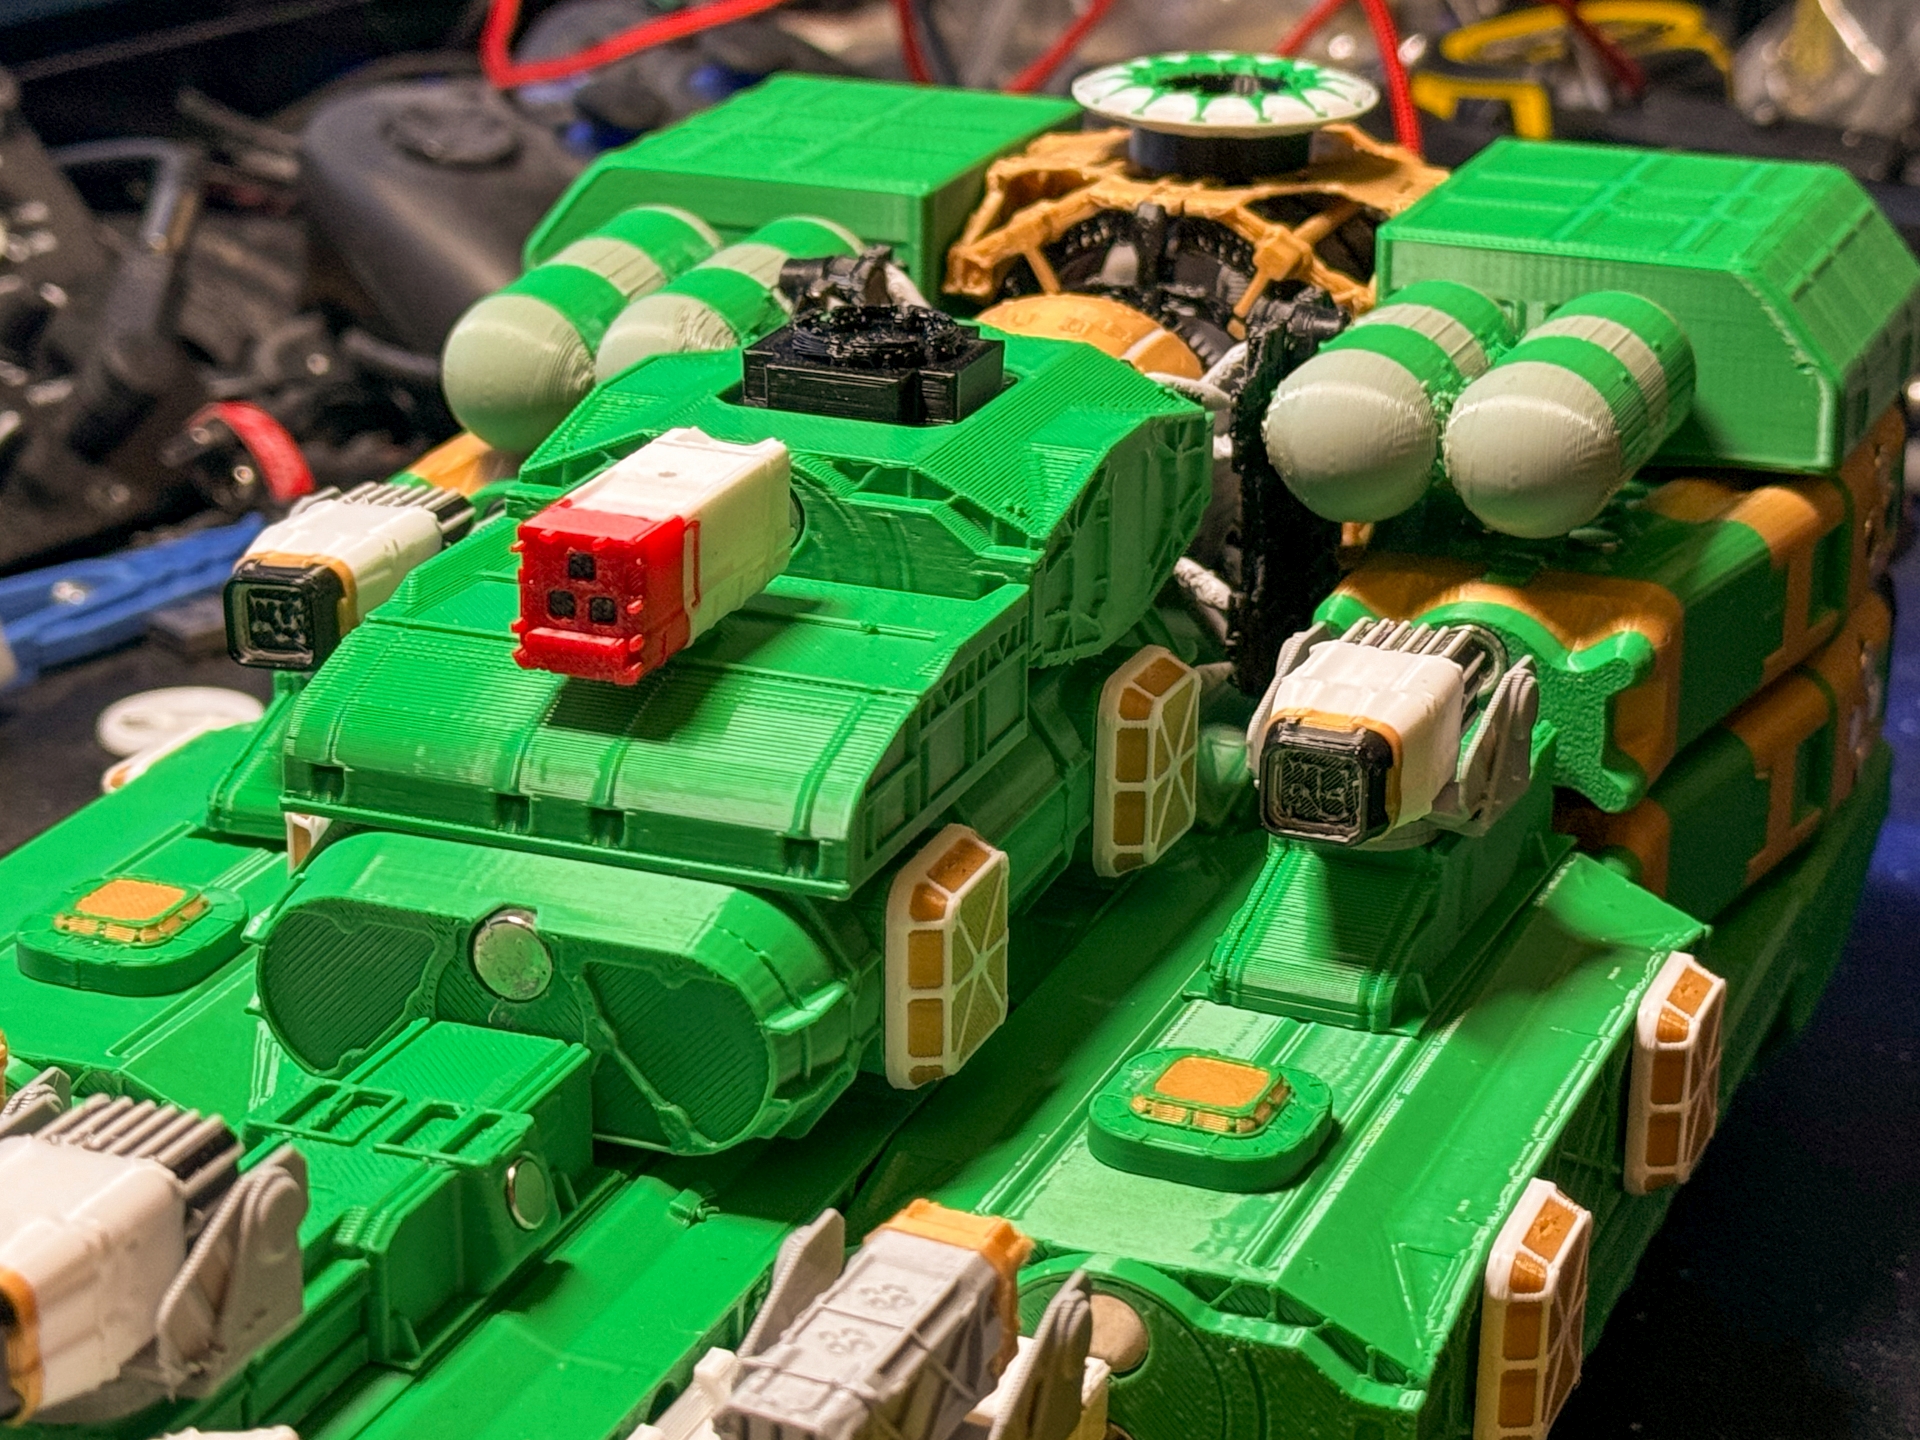
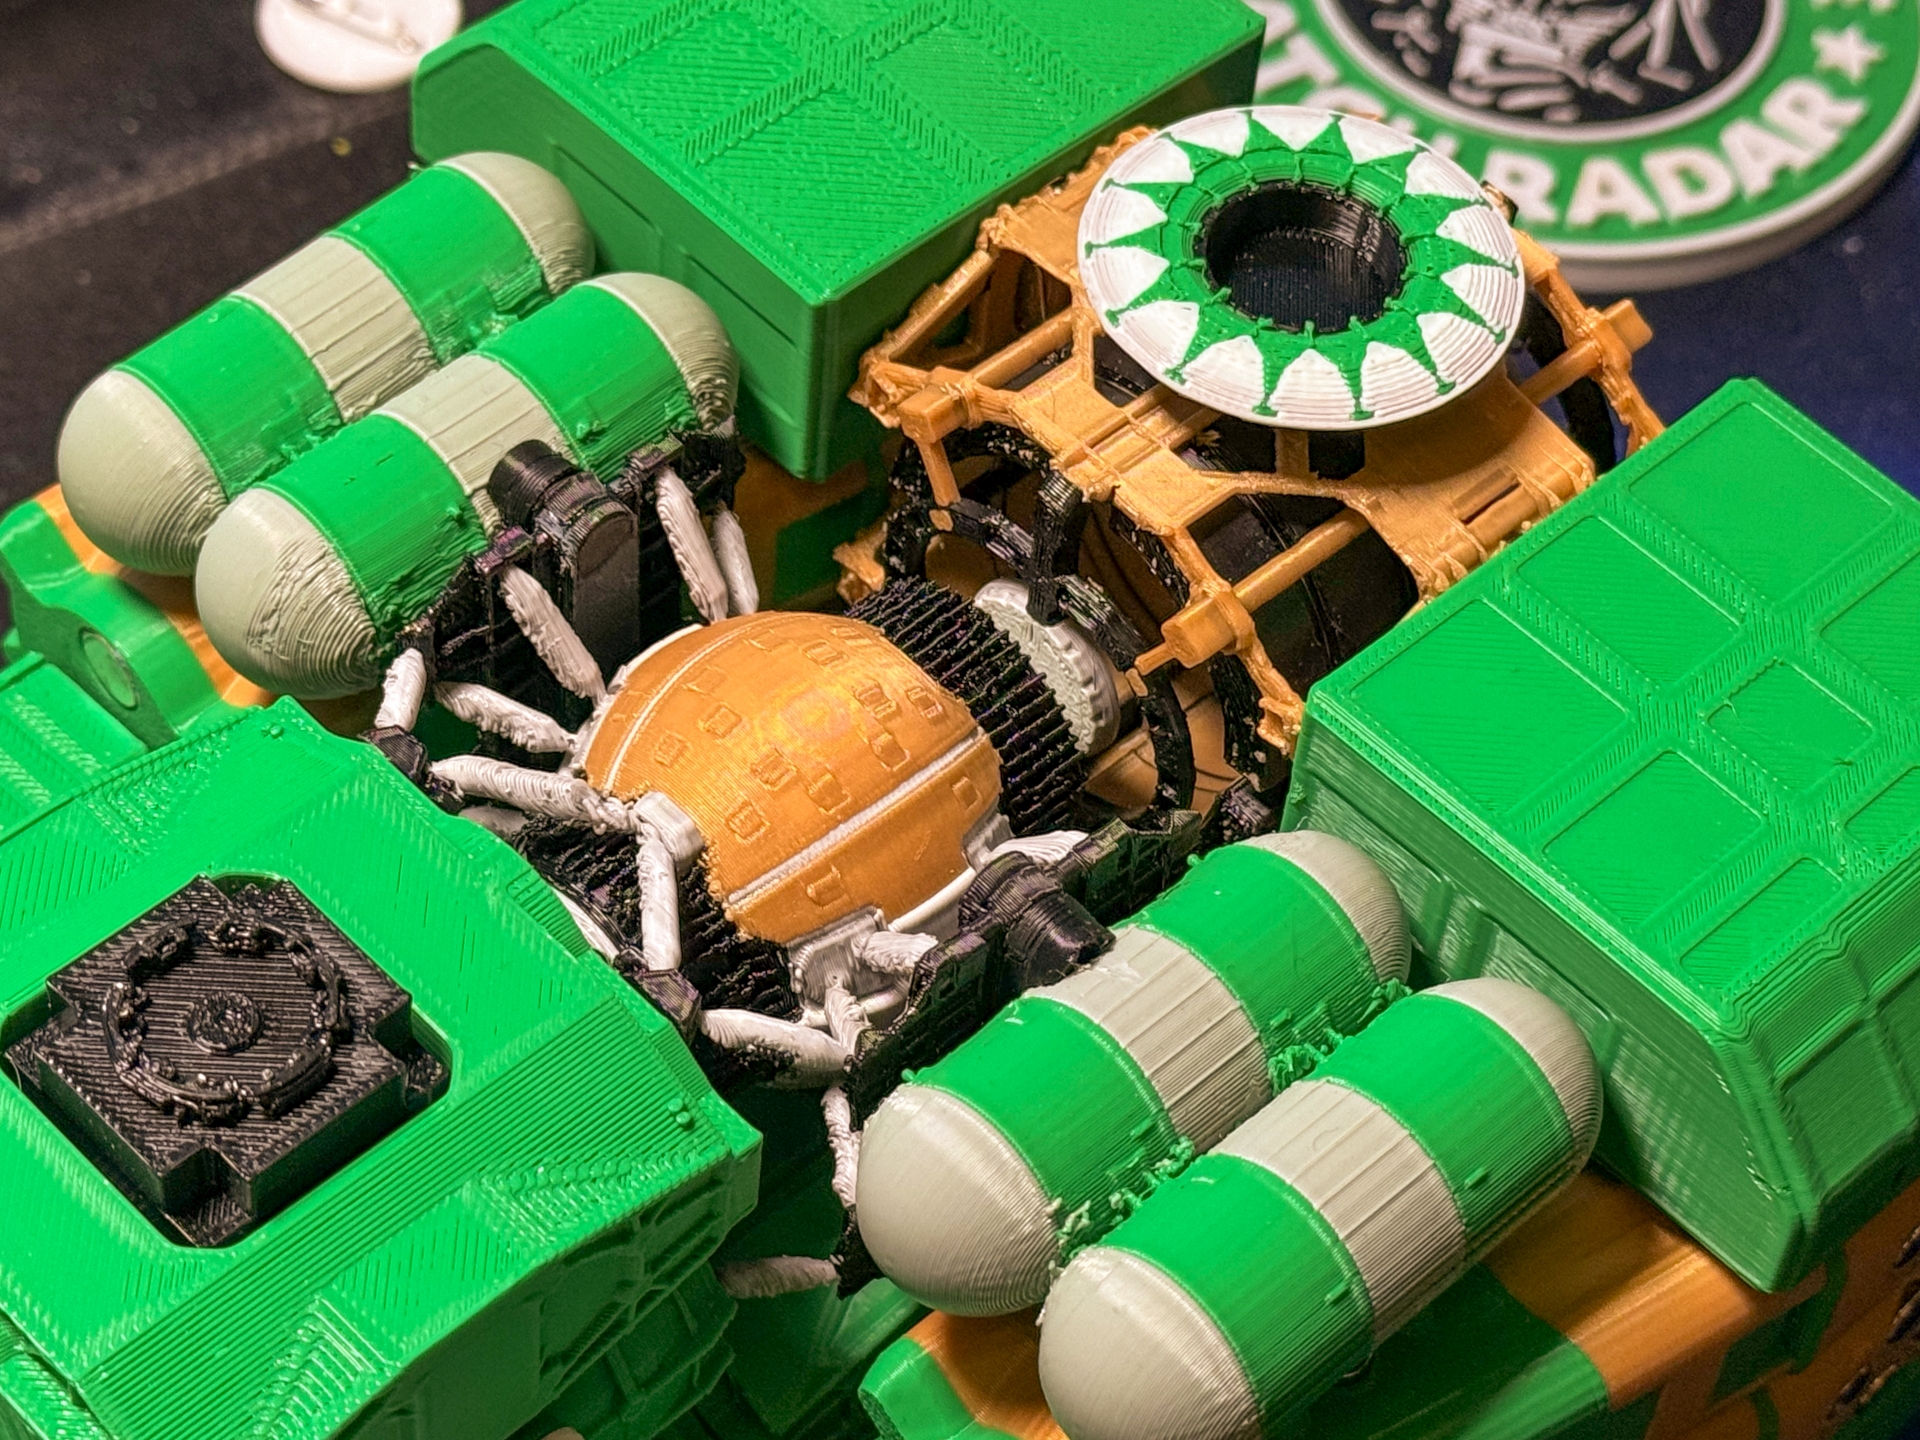
I've done a bit on model cutting/splitting for oversized models and "full-scale" prints, so there's a couple options out there (not all inclusive);
Bambu Studio has built in model-cutting to take an oversized model, and apply a manual plane-cut + connection pins to break a file down to printable sizes.

Luban3D, has auto cutting, which is a somewhat automatic method of taking the same oversized models and applying automatic cut+pin/plug/dowel based on bed parameters and manual plane moves (if you find a cut that makes no sense).
Not cheap, but has a free trial.

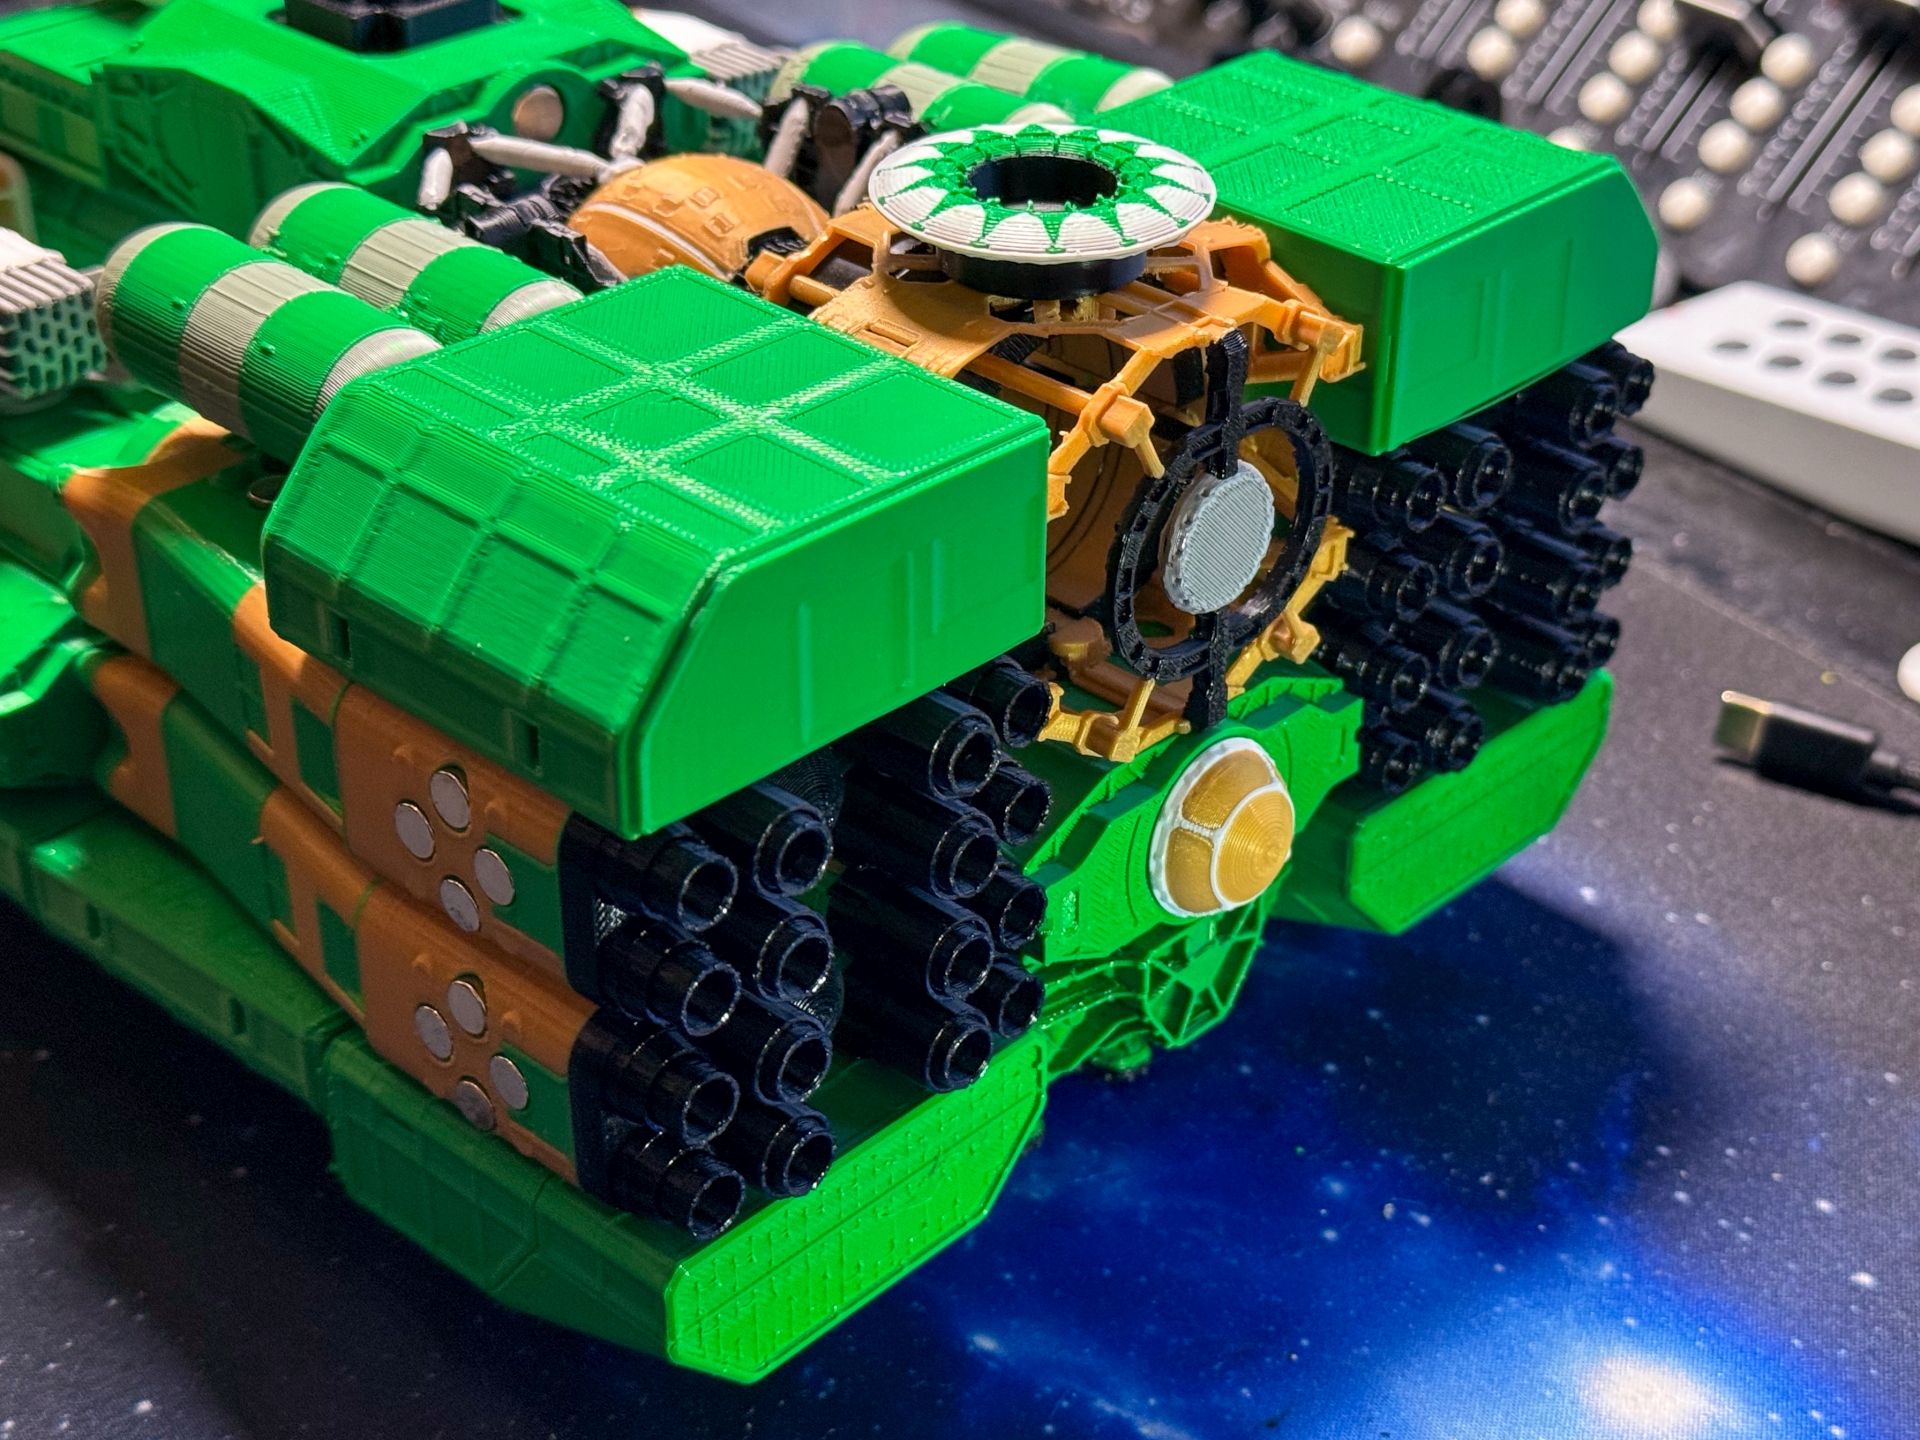
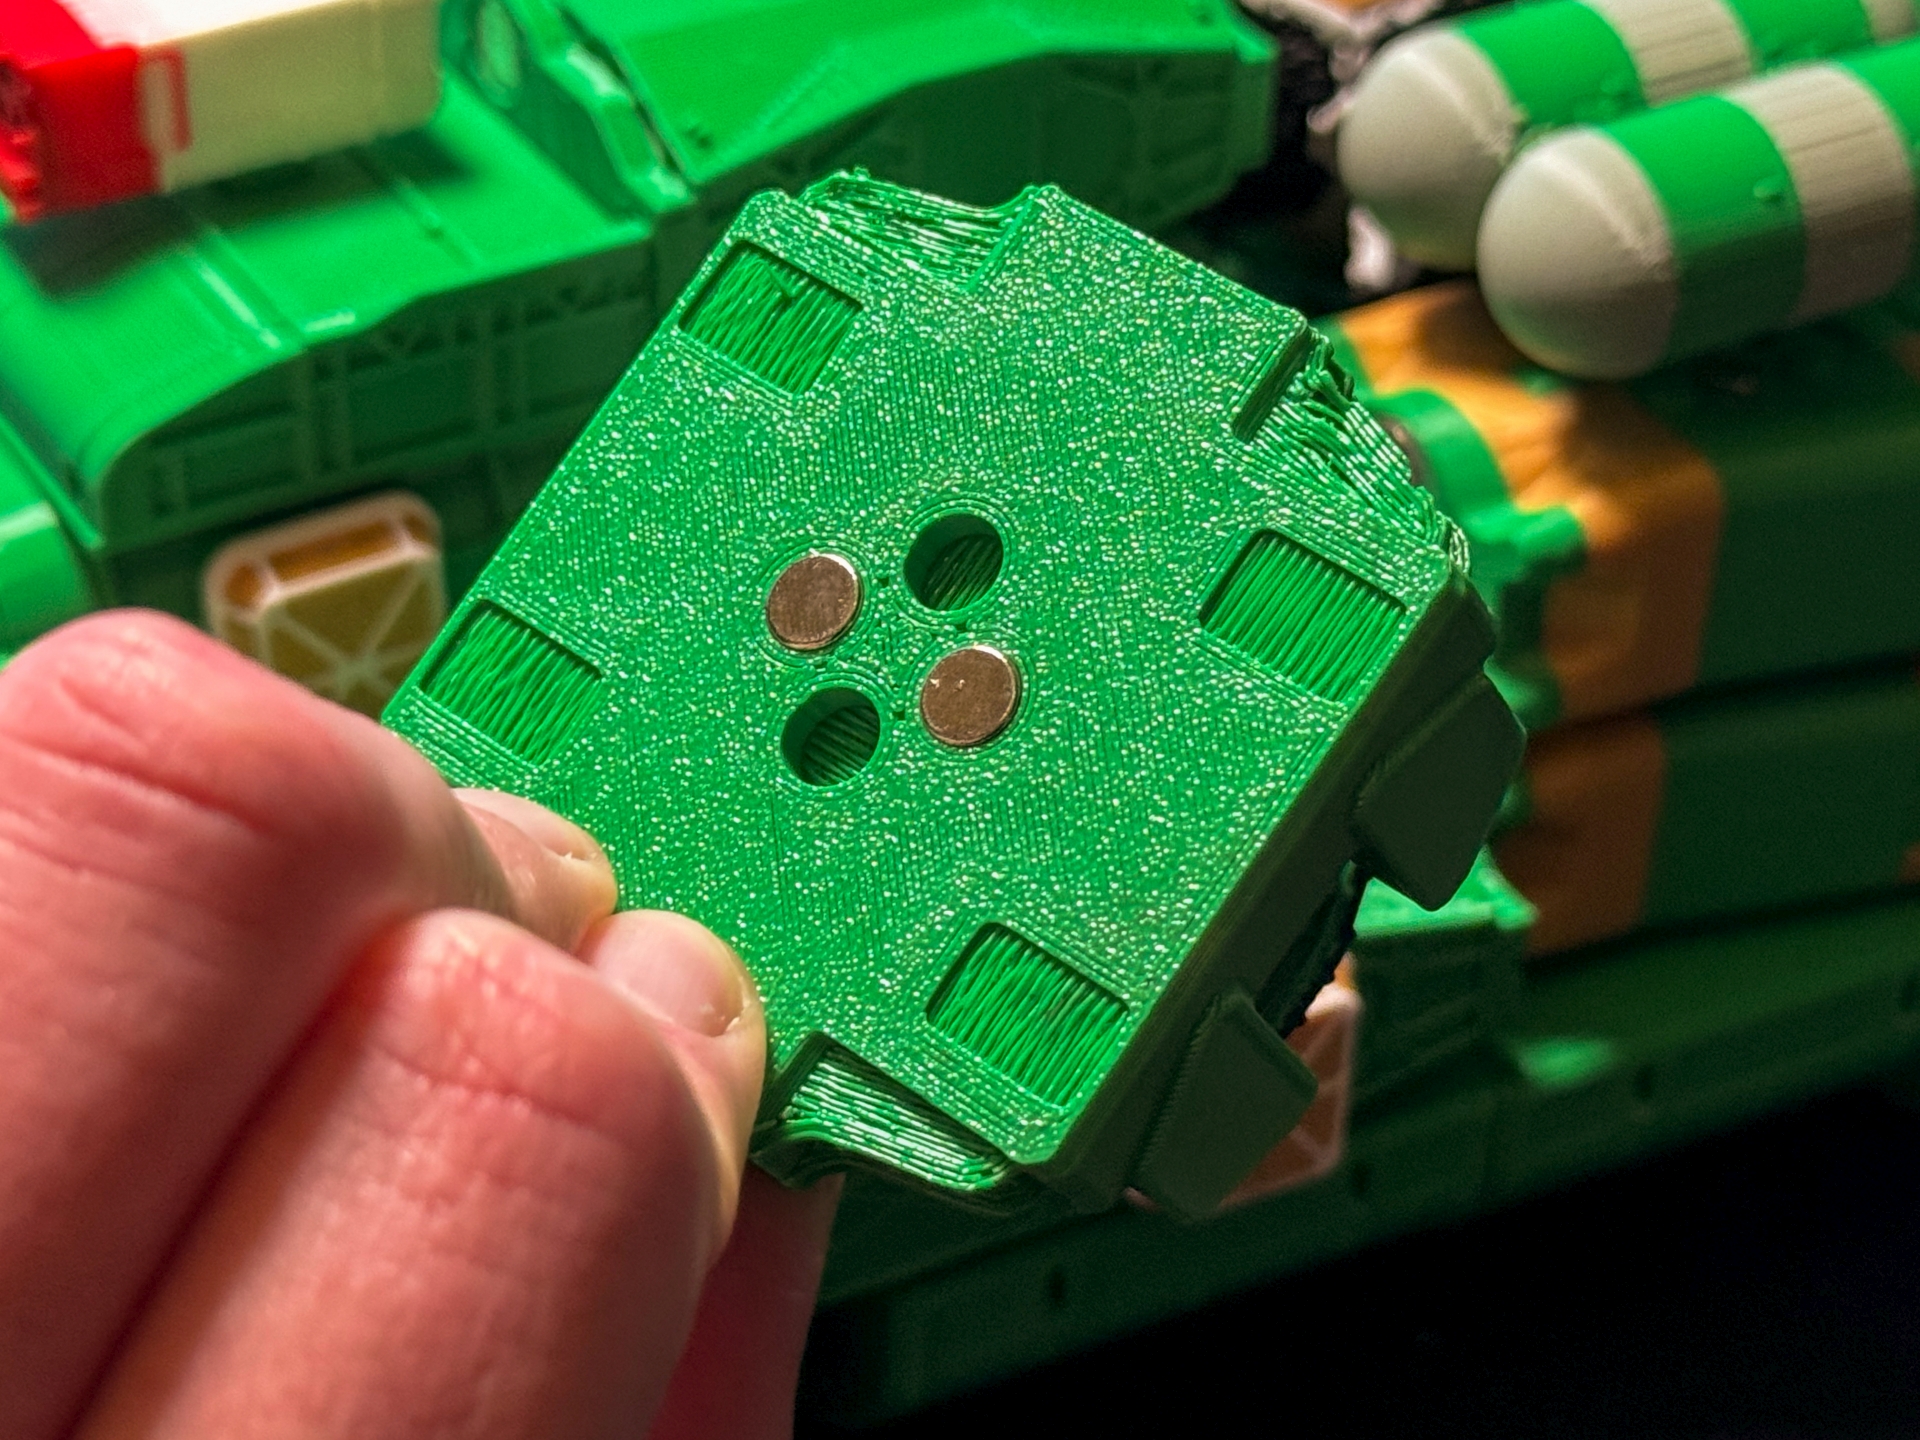
Could also consider taking solid parts, and hollowing them out with an offset (making a multi-wall shell, then those can snap-fit with a complete hollow inside vs infill). MeshMixer is pretty good on this front.

Example via Luban3D; Nuka-Cola bottle stl, scaled by 10x, then cut into 3x printable pieces with native-plugs;

1697994218524.png
 
Thanks, I've had a play and got the connectors working in Bambu Studio. Ignore the floating elements, I will remove those.
1698002241313.png


I need to experiment with the location of the cut line as the magnets for joining modules would go where it is here. I might just do cutouts and print magnet plates separately.

With the infill at 0% I can print these as hollow shells without messing around too much. There may be a little stringing inside but whatever.
1698002398514.png
 
Bambu Studio is a fork of the Prusa Slicer, which also has had model cutting and automated connection elements added in the last release (2.6). Not sure if Bambu's features are the same implementation that Prusa built, or if they built their own solution in the forked code. Could be worth giving the "original" a try, too :)

They also have a new infill called "lightning", which is possibly what you want here. It basically leaves the model hollow, but adds internal support structures for features that would be difficult/impossible to print cleanly otherwise. So in the end, it's as little infill as possible.
Thanks, I actually installed 2.6.1 last week but never opened it. The lightning infill is interesting, with this model it acts like a self-growing support but still leaves the model mostly hollow. Seems ideal. This is with dowels added

1698050841864.png


The only thing I'm not sure about is how I would use this slicer to print this on the A1 Mini with multiple filaments, it doesn't matter for this particular part as it will be all one material/colour but other parts will use multiple colours.
 
Last edited:
Thanks, I actually installed 2.6.1 last week but never opened it. The lightning infill is interesting, with this model it acts like a self-growing support but still leaves the model mostly hollow. Seems ideal. This is with dowels added

View attachment 3570714

The only thing I'm not sure about is how I would use this slicer to print this on the A1 Mini with multiple filaments, it doesn't matter for this particular part as it will be all one material/colour but other parts will use multiple colours.
Export the 3MF after pinning then load in Bambu?

Unrelated: Canadian (southpark) Spiderman.
1698106514267.png
 
Export the 3MF after pinning then load in Bambu?
I was specifically thinking of getting it to Bambu with the lightning infill added by the Prusa slicer, I just checked and Bambu has the lightning infill so it's a non-issue. I currently prefer the layout of the Bambu software UI compared to that of the Prusa slicer.

It's possible to export a sliced OBJ file with the toolpaths but it's a really weird result (in this case a 267MB file!) and Bambu understandably hates it.
 
The A1 Mini was released from Christmas jail and I'm amazed. It's such a huge leap from my old machine.

I was able to get the old machine to print one last thing, sort of. The pegboard mount for the AMS Lite. This has 14 mounting holes to attach to the pegboard, hopefully that's enough and hopefully the structure of the part is good enough to hold the weight. I tested it with over 6kg of heavy stuff hanging off it and it was fine, but how it will hold up over time is another question. The weight with 4 new spools is apparently 5.5kg.


Rather than print a 3D benchy or anything boring, I jumped straight in with a 3D coaster version of the Starbucks style 'Have coffee, watch radar' image. I was like a proud dad when it produced its first poop.


I can't believe the details it got in. Used all three colours and didn't produce a massive amount of poop, there's a little grey in the white final layer but that's OK. Quality is very good indeed.


I will be starting one of the first Shieldbreaker parts in one of the coming days, the cockpit. I have scaled the whole model down so it's 50cm long when assembled, making it more reasonable. I've added recesses to glue in two 5mm magnets, which will allow modules to be connected and will ensure they stay in the correct orientation. Will be interesting to see how it works out.
 
Bambu stuff is awesome. I got to spend some R&D budget for the company a bit ago and got us the A1 (full-size one, not the Mini). It's mainly getting used for work purposes so not strictly my new toy, but... well :D

EE548155-70A1-458D-B915-4202205C11FF_1_105_c.jpeg


I really like the pegboard AMS mount. We'll have a proper workbench set up for this and the old Prusa MK3S that's working in the same room soon, may do something similar then, just to keep the footprint smaller and the whole thing tidier.
 
I'm a bit annoyed that they released the A1 so soon after the mini, and with no indication that they would be doing so. Had I known, I would've got that instead so I could have the bigger build area. I don't think it will be much of an issue now, I mostly only print small stuff. If it does become an issue I'll just have to invest in one of them too!

That's a Spacemonger (or equivalent) diagram, right? Brilliant.
 
That's a Spacemonger (or equivalent) diagram, right? Brilliant.
Similar in concept - it's a visualization of software code quality, specifically by https://maibornwolff.github.io/codecharta/. We've been using this sort of view forever in audits and other projects, and eventually I came up with the idea of 3D printing the results to provide the customer with a "physical representation" of our analysis. Especially interesting when an audit results in a project, and we can print out and compare views from before and after we've been at it :)
 
I've been playing more and experimenting with what this machine can do. First off printing a couple of Starfield ship parts. This is the Diemos cockpit of my Shieldbreaker, in green. The windows and ports are in black, the two recesses on the top should also be black but that added 5 hours and 50g of wasted material! A few rough edges but these are easily cleaned up. Recesses are added for magnets so I can join the parts together and re-configure.


Secondly I wanted to try an upside-down plaque that I've seen, so the finished surface takes on the texture of the build plate. It took some work to sort out the image and my first print with the 0.4mm nozzle (top) wasn't great. As I bought the mega bundle, I switched to the 0.2mm nozzle* and re-printed it. This gives a much better result but was very slow. It did also start to lift towards the end, the software naturally adds more infill to compensate for the smaller nozzle but I think it was too much.


*As I bought the mega bundle, a 0.2mm stainless nozzle (along with 0.4mm and 0.6mm hardened steel) came with the machine. Swapping was very easy, the most difficult part was getting the silicone sock off. I slightly tore one of the socks, again I got three spares with the mega bundle but I will order more with my next batch of PETG.
 
Last edited:
I made video showing the first layers of that Rumble Bee print, it was finally ready after re-stabilising the 'stable' footage from the camera.

View: https://youtu.be/ar_TnHFu7Ks
I'm still working on the Starfield ship parts, having to make modifications and reprint some parts as I go along. Photos to come soon.

In the meantime I've gone for some recycling, I made a cat toy ball from transparent PETG and threw some different coloured poops in as it printed. They rattle around nicely. Lexi seems to like it.


I initially tried to throw one in too early, the fan kicked in when doing the outer edge and blew it straight back out. :LOL:
 
I also realised that I needed more light above the printer, the tiny lamp is useless. For the video of the rumble bee plaque I used the big LED panel that's usually above my desk, but I wanted a more permanent solution that maybe allowed me to do more fancy colours like this guy does.

I got what I thought was the best option from Amazon, an RGB light that magnetically mounts to a ball. I guessed that I could get a similar ball with a threaded hole inside it.

1704633271775.png


As it happens, the ball it comes with has a threaded hole in it already and a bolt that goes into it. I designed and printed a mount to go over the nose of the AMS Lite, which fits pretty snugly, and then added mounts for magnets that offer extra support by being attracted to the little screws that hold the motors on. I think it works well.


The lamp sits inside the bowden tubes so it never gets in the way of them, I might want to bring out further but I can do that with a longer M3 bolt. It has an internal battery that lasts for about 4 hours, so I bought a right-angle USB-C cable and connected it to a remote controlled socket. I'll set it up to turn on for an hour a day to top up the battery, if I want to use it for a long period I can just turn the socket on manually.
 
I haven't posted any more updates about my 3D printed Starfield Shieldbreaker, every time I added another part I wanted to keep it as a surprise until it was done. Well, now I'll call it 'done' as far as the 3D printing goes. Probably.


Every part is joined by magnets, in total there are 345 small magnets in this. It weighs 1.2KG. The original intent was for it to be completely reconfigurable, but I couldn't stick to that due to the polarities of the magnets. Some parts just won't join to others, not in the orientation you want anyway.


Reactor and grav drive took the longest to print as single parts, with lots of filament changes. Fuel tanks will be re-printed at some point.


Engines were made in 5 parts, with connectors generated by the Bambu software. They fitted together perfectly with no post-processing and a bit of superglue holds them together.


The feet are all separate and are held on with their own magnets, so I can change the ship to a flying appearance if I want to. I just need to print different feet. I got some weathing powders and experimented with them on this lander along with one of the fronts, I think I'll go over the entire model with a dark wash.

A shot of the magnets.


A shot of the magnets that hold this lander on. I made space for four magnets on these but so far only two are needed here. Elsewhere, I do use four magnets.


Aside from that project, I decided to get some of the novely build plates that are available on Amazon. This one caught my eye, a smooth and fully holographic plate.


I just made up a simple plaque of the Land Rover logo and printed that face down.

 
Have been experimenting with ESPHome and some DIY sensors for my smart home setup, and ended up with some parts that I couldn't find a decent enclosure for online. So into Fusion360 I went, and out came this:


IMG_0651.jpeg IMG_0652.jpeg IMG_0650.jpeg

Perfectly functional, works exactly as designed - holding the D1-Mini ESP8266 board, SenseAir S8-4B CO2 sensor and a cheap GY-21 temperature / air quality sensor all in a neat package.

The print came out looking like shit though, not sure what came over the ol' reliable Prusa Mini here. But it's hidden away on a bookshelf fairly far away from anyone looking closely, so I probably won't bother fine tuning and re-printing. Need another two of these anyway, once the D1-Mini boards come in, I seem to have run out - might fiddle with printing speed there a bit and see if it improves. Or maybe the white PLA isn't good anymore, taken on moisture or something.
 
Yeah that print doesn't look too happy, is it also slightly warped on the top? I would suspect the filament, although I recently did a print with holes in and the A1 Mini also left some lines. I just happened to find this decade resistance box on Printables that was a perfect home for the one I made years ago and never got around to putting in a case. You can see the lines, also there was a stray bit of black painting near the top and the purging wasn't quite right. No big deal really.


I've also been meaning to post my own creation. I've been watching some long onboard train videos and at normal speed they can drag on, so I've been speeding them up by holding down space in YouTube or downloading the videos and changing the speed in Media Player Classic using the keyboard shortcuts. I didn't want to hold down space any more so I built a device to do it for me.


I built the skeleton plate first to attach the switches and the Arduino, then just designed the case around it.

The switch on the back toggles between YouTube and MPC mode. In YouTube mode, pressing the second grey button up latches the space key, so it's constantly pressed down. It also illuminates the LED under the switch. The intention was for another press of the same key to unlatch it, but that ultimately didn't work and pressing the bottom grey key does that just fine. The yellow ones are for forward and back. In MPC mode the two grey buttons increase or decrease speed.

It's connected by one of my favourite magnetic connectors, and I went for a Pro Micro with a USB-C connector because I've had issues with the micro USB connectors breaking off. Being a bigger connector, this has extra legs that are soldered down to the board. Keycaps were from the PMK grab bag I bought years ago, I knew it would come in handy. I also have an alternative DSA set in red and white.
 
Top